Publishing and Sharing
Embedding Your Lumo on a Website
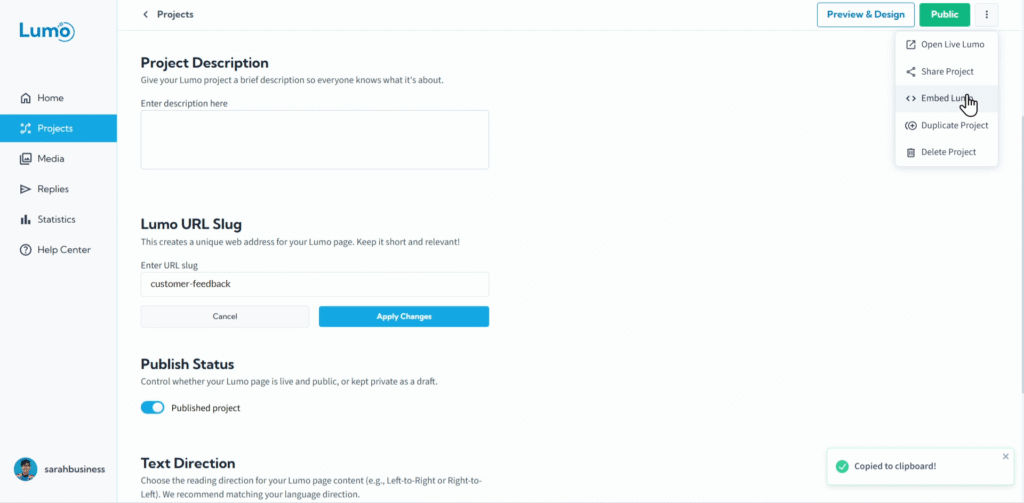
For seamless integration and a truly branded experience, LumoPages allows you to embed your digital forms directly into your existing website or blog. This means your users can fill out your Lumo without ever leaving your site, creating a cohesive and professional flow.
This guide will walk you through how to obtain and use the embed code for your Lumo.
Why Embed Your Lumo?
- Seamless User Experience: Users complete the form without being redirected to another URL, maintaining your website's flow.
- Enhanced Branding: The Lumo appears as an integral part of your website, reinforcing your brand identity.
- Increased Conversions: Keeping users on your site can reduce drop-off rates for forms.
- Professionalism: A native form experience looks more polished than simply linking out.
Step-by-Step: Embedding Your Lumo on a Website
Paste the Embed Code into Your Website. This is the crucial step for integration. Navigate to the editor or content management system (CMS) of your website (e.g., WordPress, Wix, a custom HTML site).
- Find the specific page or section where you want your Lumo to appear.
- Look for an option to add custom HTML, embed code, or switch to a "text" / "code" view of your page editor.
- Paste the copied HTML embed code directly into that area.
The exact steps for pasting HTML code will vary depending on your website platform. Consult your website builder's documentation for "how to embed custom HTML" or "how to add custom code."
If you update your Lumo in the LumoPages editor (e.g., add new fields, change colors, fix typos) and save it, these changes will automatically reflect on your embedded Lumo on your website. You do not need to re-copy and re-paste the embed code unless you delete the Lumo and create a new one.
Customize embedded notices (optional)
In Project Settings → Embed Settings, you can choose which LumoPages notices appear inside an embedded Lumo. You may hide some, all, or none of the following:
- Legal links — Terms of Use, Privacy Policy, and Accessibility links shown in the Lumo footer.
- LumoPages logo — the “Built with LumoPages” attribution (Plus and Pro plans only).
- Cookie notice — the cookie and storage consent banner shown on embedded forms.
Each option you enable requires you to confirm that you will add an equivalent notice on the page where the Lumo is embedded. For example, if you hide legal links, you must link to your own (or applicable) Terms, Privacy, and Accessibility notices on that page. If you hide the cookie notice, you must provide your own cookie or storage disclosure and consent where required by law.
Standalone Lumo pages (opened via live.lumopages.com) always show LumoPages notices regardless of these embed settings.
Test the Embedded Lumo. Open your website in a browser to ensure the Lumo is loading correctly and functioning as expected within your site.
Embedding your Lumo on a website provides a powerful and integrated experience for your users, making your digital forms a seamless part of your online presence.